
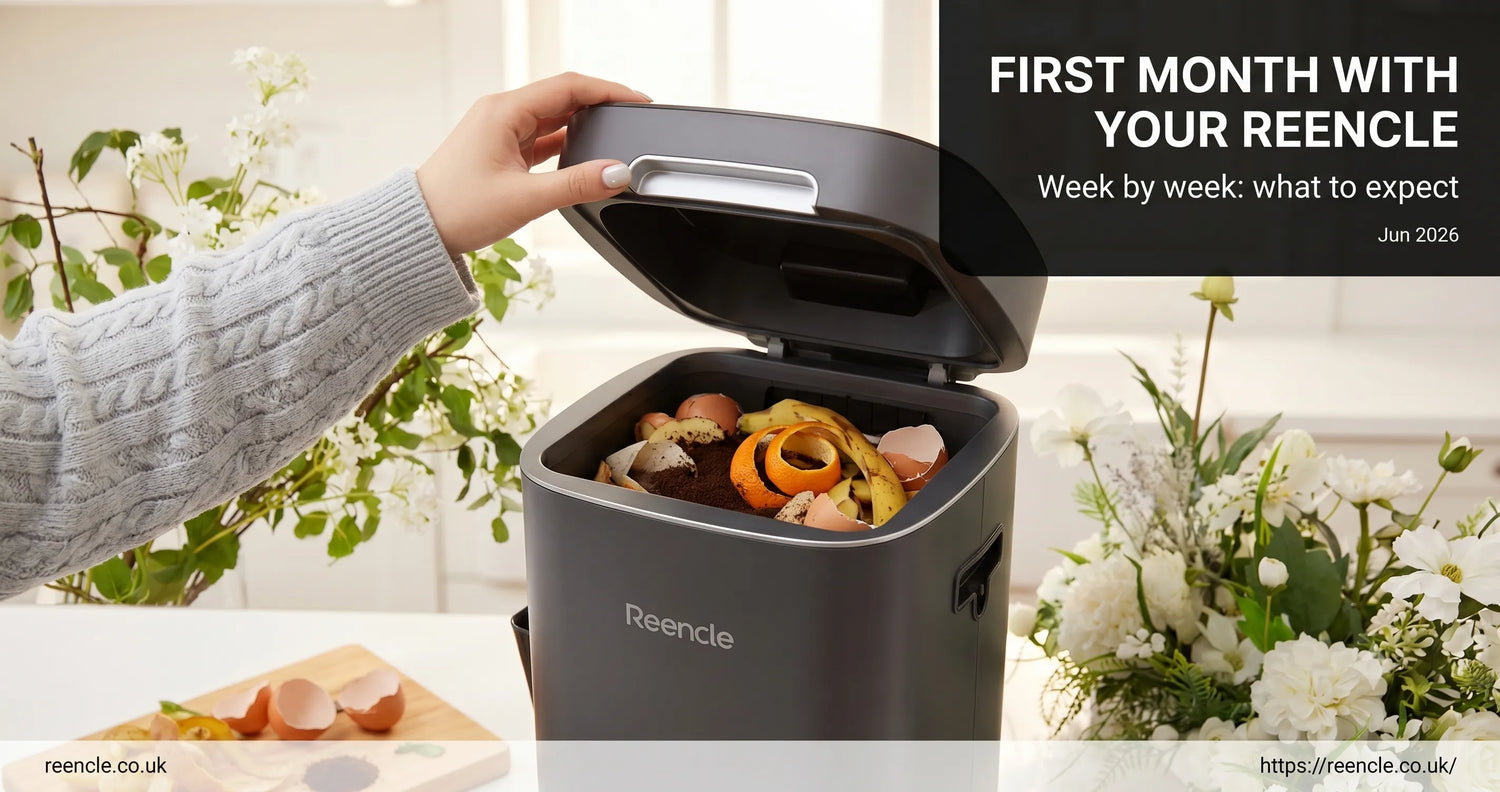
What to Expect in Your First Month with Your Reencle
Getting started with a Reencle is simpler than most people expect. But the first month has a rhythm. Here's exactly what happens, week by week, so you know what's normal and what to do about it.
By the Reencle Team · 24 June 2026
The Reencle arrives, you set it up, you start adding scraps. And then you wait. For most new owners, the first few weeks involve a fair amount of peering at the contents and wondering if it's working. It is. But the microbes inside need time to grow, and knowing what's normal at each stage saves a lot of unnecessary second-guessing.
This covers everything from first plug-in to first harvest. By month's end: a machine running consistently, a kitchen habit you barely think about, and your first batch of compost on its way.

Contents
Before You Begin: The Setup
Setup takes about ten minutes. Remove the unit from the box and peel the yellow stickers off the carbon filter. To fit the filter: insert the bottom into the rear of the unit first, then press the full face flat against the unit so it sits flush with no gaps. Use a coin to turn the round slot on each side clockwise to lock it in place. (To remove: turn counter-clockwise.)
Open the lid and pour in the entire microbe starter pack, all of it, not part of it. If the pack has been opened, use it within 24 hours. Then add 1.8 litres of water (roughly 4 pints). Do not add food at this stage.
Plug the unit in. The microbes need 3 to 6 hours to activate. After that, you're ready for their first meal. A slice of bread, a handful of crackers, or a couple of biscuits works better than vegetable scraps at this stage. Bacillus bacteria break down starchy foods quickly, and it gives the colony the best start.
Week 1: The Microbes Are Waking Up
The microbe starter begins as compressed wood pellets. After you add water and the unit activates, they loosen into a sawdust-like texture. That's what you'll see when you open the lid in week one. It's the right texture for this stage.
Colour varies depending on what you add. More fruit and vegetable scraps push the bed darker; less keeps it lighter, in the tan or ochre range. Don't look for a specific colour as the sign it's working. Look for food breaking down and the volume reducing. The bed typically takes two to four weeks to fully shift from that sawdust texture to a soil-like form, so what you're seeing in week one is normal.
A faint earthy or fermented smell is normal. The carbon filter handles odour control, so you're unlikely to notice it when the lid is closed.
Keep inputs small this week: 200 to 400g per day. The microbe colony is still growing, and overloading it early can slow things down. Most food waste breaks down within 24 hours; some lighter scraps in as little as 6 to 8 hours, while tougher or thicker pieces may take the full 24.

Week 2: Finding Your Rhythm

By week two, the microbe colony is larger and more active. Breakdown is noticeably faster: scraps added in the evening are often unrecognisable by morning. From this week, you'll also start to see the bed gradually shifting from that sawdust texture toward something closer to moist, crumbly soil. How quickly that happens depends on how much you're adding and how regularly. With consistent inputs, most people see it within a month.
The main thing to manage is moisture. The contents should feel like damp beach sand: moist, but not wet. If you press a handful, it should hold its shape without releasing water. If the contents look soggy or you can see liquid pooling, run the unit in Dry Mode for one to five days and pause adding food. The microbes aren't dead, but they need time to recover on their own without new food being added during that window.
If the contents look very dry or you hear a scraping sound from the inner chamber, add moisture, but use food rather than plain water where possible. The chamber runs warm, so water evaporates quickly. Food releases moisture slowly as it breaks down, which keeps the balance more stable for longer. If left too dry, the microbes produce dust. That dust works its way into the mesh filter and, if neglected, reaches the carbon filter, shortening its life.
From this week, you can increase your daily input. Build up gradually rather than jumping straight to the maximum; the microbes need time to grow into the volume. Fruit and vegetable peelings, cooked leftovers, meat scraps, cheese rinds, coffee grounds, eggshells, stale bread: all of it goes in.
Weeks 3 and 4: Settling In
By weeks three and four, the microbes are well established and working consistently. Most food is broken down well before the 24-hour mark; only tougher or thicker produce takes a little longer.
The contents should look noticeably different from week one: somewhere between light ochre or tan and deep brown, crumbly, significantly smaller in volume than the food you've put in. The colour depends largely on what you've been adding, so don't worry too much about the exact shade: texture and volume reduction are the things to watch.
The habit that tends to work best is adding scraps after each meal rather than collecting everything and tipping it in at once. Spreading input throughout the day gives the microbes a steady stream to work through and avoids a sudden moisture spike from a large wet load, which can take a day or two to rebalance.
Your First Harvest
The Reencle doesn't operate on a fixed cycle. Harvest when the unit is around 70 to 80% full, or after two to four weeks of regular use, whichever comes first.
When the time comes, remove the material down to the MIN line marked on the inner wall of the unit. That's the minimum level needed to keep an active culture running. Leave the microbes at or just above that line; everything above it is what you harvest.
What you've harvested isn't finished compost yet. Transfer it to a sealed container or outdoor compost bin and mix it with garden soil at roughly a 4:1 ratio: four parts soil to one part harvested microbes. Leave it to cure for two to four weeks. You may notice white mould forming on the surface: that's actinomycetes, a beneficial microbe. You can mix it in or pick it out. Either is fine.
If you don't have a curing space, there's an alternative: spread the output in a spot away from plants, cover with a layer of soil, then add wood chips on top. The wood chips deter insects and wildlife. Important: the material must not contact plant roots until fully cured. Direct contact can burn plant roots.
What to Add (and What to Leave Out)
The simple rule: if you eat it, your Reencle can probably process it too. More specifically: if it came from a plant or an animal and it isn't a hard shell or a large bone, it can go in.
What goes in

What to avoid
Chop larger items into rough 5cm pieces before adding. It isn't strictly required, but it speeds up breakdown and reduces the load on the paddle.
Quick Reference
Reencle First Month at a Glance
| Stage | What to expect | Key action |
|---|---|---|
| Setup | 3 to 6 hour activation; bed starts as loosened sawdust | Entire microbe pack + water; first meal is bread |
| Week 1 | Loosened sawdust form; food starts breaking down; colour varies by input | Start small: 200 to 400g/day |
| Week 2 | Sawdust gradually shifting to soil form; moisture management important |
Build up input gradually Dry Mode to MIN line if too wet |
| Weeks 3 to 4 | Well established; ochre to dark brown; crumbly, soil-like texture forming | Add after each meal; up to daily max |
| First harvest | Remove to MIN line; cure 2 to 4 weeks at 4:1 soil to microbes | Leave microbes at MIN line; mix 4:1 to cure |
| Carbon filter | Lasts 9 to 12 months | Replace when odour control reduces |
Why Most Food Waste Never Becomes Anything Useful
In the UK, 27% of households are classified as high food wasters. Most of that waste goes in a council food waste bin, a general waste bin, or down the sink. In all three cases, it ends up somewhere it can't do any good.

Council food waste collections are better than landfill, but they're still a disposal system. The waste leaves your home, gets processed at an industrial facility, and the resulting material goes to commercial agriculture. Not your garden.
The Reencle keeps that process in your kitchen. The Bacillus bacteria inside are the same type found in healthy compost heaps. They break down organic material through aerobic digestion, generating heat and reducing volume as they go. The difference is a sealed, odour-controlled unit on your worktop, producing results in weeks rather than months.
After one month, what you harvest goes back into your soil once it's cured. Not into a lorry.
FAQ
Common Questions
Why does breakdown seem slower in week one?
The microbe count grows over the first few weeks, which is why breakdown gets noticeably faster from week two onwards. The unit isn't struggling in week one. It's growing. Keep inputs modest (200 to 400g per day) and run it consistently, and you'll see a clear difference by week two.
Is it normal for my Reencle to smell?
The Reencle uses a fermentation-based process, so a faint earthy or fermentation smell from inside the unit is completely normal. That's healthy microbial activity. You're unlikely to notice it when the lid is closed, as the 3-layer carbon filter handles odour control. If a strong smell is escaping the unit, check the carbon filter. A clogged or exhausted filter is the most common cause. The filter typically lasts 9 to 12 months.
How much can I add each day?
The Reencle Prime handles up to 1kg per day; the Gravity Pro handles up to 2kg. In week one, start at 200 to 400g while the microbes establish. Build up through weeks two and three rather than jumping straight to the maximum, as microbes need time to grow into the volume. Sudden large wet inputs can spike moisture and take a day or two to rebalance.
What should the contents look like after one month?
Somewhere between light ochre or tan and dark brown; the exact shade depends on what you've been adding. More important than colour is the form: by the end of month one, the sawdust texture of week one should have started shifting toward moist, crumbly soil. Volume will be significantly smaller than the total food you've added. If the contents still look chunky or smell strongly unpleasant, check the moisture level and ease off inputs for a few days.
How do I know when the compost is ready to harvest?
Harvest when the unit is 70 to 80% full, or after two to four weeks of regular use. Remove the material down to the MIN line marked on the inner wall and leave the rest in place as your active culture. Mix the harvested material with garden soil at a 4:1 ratio and cure for two to four weeks before using it in the garden.
What if the contents look too wet or too dry?
Too wet: The microbes aren't dead, but they need help. Leave only enough microbes to reach the MIN line and discard the excess. Use kitchen paper to wipe any visible oil or liquid from the surface of the remaining microbes. Then run Dry Mode for two to three days and add no food until the texture returns to crumbly soil. Note: if the microbes have completely liquefied, they can't be recovered. You'll need a fresh starter pack.
Too dry: The chamber runs warm, so low or infrequent input will naturally dry the bed over time. If the contents look powdery or you hear a scraping sound from the inner chamber, add moisture, but use food rather than plain water where possible. Food releases moisture slowly as it breaks down and keeps the balance stable longer. If left too dry, microbes can go dormant (they enter a spore state). Prolonged dryness also creates dust that clogs the mesh filter and, over time, shortens the life of the carbon filter.
Does the Reencle use a lot of electricity?
The Reencle uses around 1.25 kWh per day, which works out to roughly 30p at typical UK electricity rates. Run continuously, that's about £9 a month. Roughly the same as leaving a phone charger plugged in overnight.
Why isn't my Reencle breaking down food quickly?
The most common causes are low moisture, overloading in the first two weeks, or inputs that are too large. Check that the contents feel like damp beach sand, ensure you're not exceeding the daily limit, and chop larger items into 5cm pieces before adding. If breakdown is still slow, ease off inputs for a week and let the microbe colony recover. If the microbes look healthy but food isn't mixing or breaking down at all, check whether the stirring rod is rotating. If it isn't, that's a hardware issue and you should contact support.
The bottom line
The first month with your Reencle is mostly about patience and observation. Once the microbes are established, the machine takes care of the rest.
And the scraps? Every vegetable peeling, leftover curry, and crust of bread you add this month would otherwise sit in a bin bag. UK households of four throw away around £1,000 of food a year, and most of it ends up in landfill or industrial processing. A home composter closes that loop in your own kitchen, turning unavoidable scraps into soil conditioner instead of shipping them off to be processed somewhere else.
Shop the Reencle Composter →


Leave a comment
This site is protected by hCaptcha and the hCaptcha Privacy Policy and Terms of Service apply.